
Introduction
Equipment calibration services in Fiji are easier to coordinate when instruments arrive correctly identified, suitably protected and accompanied by clear instructions.
A laboratory may receive a well-packed instrument but be unable to begin work because its required measurement ranges are missing. Another shipment may include the correct paperwork but arrive with a damaged connector or an essential probe left behind.
Preparing equipment involves more than placing it in a box. Businesses need to confirm the service scope, document the contents and arrange transport suited to the instrument.
When discussing calibration requirements with More Grow Group, ask for preparation and delivery instructions for the specific equipment. Confirm the receiving location, required accessories and return arrangements before dispatch.
1. Confirm the Booking Before Sending Equipment
Contact the receiving laboratory before arranging collection.
Provide the equipment details and explain what measurements the instrument supports. Ask the laboratory to confirm whether it can perform the requested work and what information it needs.
Details to Confirm
- Equipment type, manufacturer and model.
• Serial number and internal asset number.
• Required calibration functions and ranges.
• Relevant test points.
• Acceptance limits, where applicable.
• Required certificate or reporting arrangements.
• Booking reference.
• Receiving address and delivery hours.
• Indicative turnaround time.
Do not assume that a general calibration booking covers every function an instrument provides.
Record any unresolved technical questions before shipment.
2. Identify Each Instrument Clearly
Use a unique equipment identity throughout the booking, packing list and internal register.
A description such as “digital thermometer” may be insufficient when several similar instruments are sent together.
Record:
- Equipment description.
• Manufacturer.
• Model.
• Manufacturer’s serial number.
• Internal asset number.
• Department or location.
• Responsible employee.
Check that identification labels remain readable without covering displays, ventilation openings, connectors or controls.
For instruments with detachable probes, identify the probe separately where relevant.
3. Inspect and Record the Existing Condition
Inspect the instrument before packing it.
Document visible damage and reported faults so the laboratory understands the condition in which the equipment was dispatched.
<h3>Pre-Dispatch Checks</h3>
- Inspect the housing and display.
• Check accessible connectors and controls.
• Look for damaged cables or loose components.
• Record missing covers or accessories.
• Note unusual readings or intermittent faults.
• Photograph the instrument where useful.
• Photograph the identification label and packed contents.
Describe problems specifically.
For example, “display intermittently switches off during use” provides more useful information than “not working properly.”
A reported fault may require assessment or repair in addition to calibration. Ask the provider to distinguish these activities in the quotation.
4. Agree on Adjustment and Repair Instructions
Clarify what the laboratory may do if it identifies an issue.
A calibration request should not leave uncertainty about whether adjustment or repair is authorised.
<h3>Questions to Ask</h3>
- Are results required before adjustment?
• Is adjustment included or separately priced?
• Must repairs receive written approval?
• Who can approve additional charges?
• What happens if calibration cannot be completed?
• Which results and service notes will be supplied?
Where the business needs evidence of the instrument’s condition as received, request as-found results before any adjustment.
Provide contact details for someone who can respond to technical questions while the instrument is away.
5. Follow Equipment-Specific Preparation Instructions
Preparation requirements differ between instruments.
Follow the manufacturer’s instructions and any additional arrangements agreed with the laboratory. Do not apply one preparation method to every device.
Depending on the equipment, preparation may involve:
- Following the normal shutdown procedure.
• Fitting protective connector covers.
• Securing moving parts with specified transport restraints.
• Protecting exposed probes.
• Backing up configuration information where appropriate.
• Following approved cleaning procedures.
• Confirming battery handling arrangements.
Do not adjust an instrument simply to make it appear ready for calibration. Unrecorded changes can make its previous performance harder to assess.
If preparation requires specialist work, have the responsible technical personnel complete it.
6. Declare Contamination or Previous Exposure
Tell the laboratory if equipment has been exposed to substances or environments that could affect handling.
Relevant information may include exposure to:
- Process liquids.
• Oils or residues.
• Chemicals.
• Biological materials.
• Dust or other contamination.
Ask what cleaning, declaration or acceptance process applies before dispatch.
Do not send equipment with unidentified residues or assume that ordinary external cleaning makes every instrument suitable for laboratory handling.
Avoid including unnecessary confidential operational or patient information in the shipment paperwork.
7. Confirm Which Accessories Must Travel
Some instruments require specific probes, leads, adaptors or power supplies for the agreed work.
Ask the laboratory which accessories it needs and whether they form part of the calibration scope.
<h3>Accessory Information to Record</h3>
- Description.
• Quantity.
• Identification number, where available.
• Instrument to which it belongs.
• Whether it requires calibration.
• Whether it is supplied only for operation.
• Location within the package.
For example, a temperature indicator and its probe may need assessment as an identified combination. Confirm the intended arrangement rather than sending an unrelated spare probe.
Keep a copy of the accessory list for the return inspection.
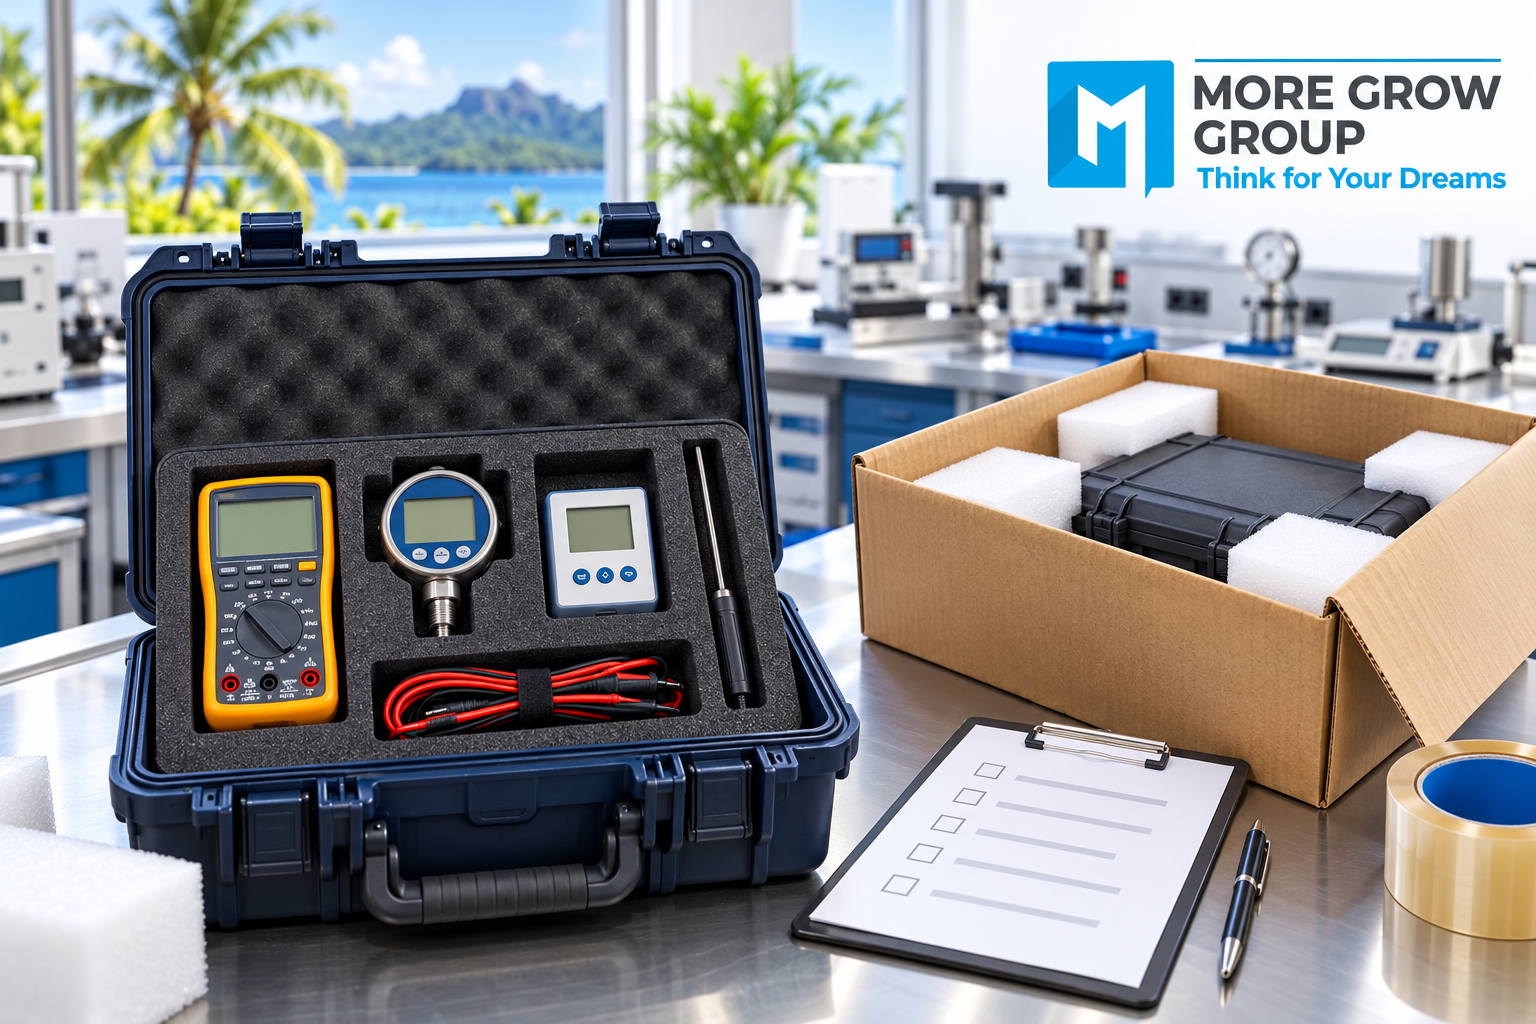
8. Choose Suitable Protective Packaging
Select packaging around the instrument’s construction, weight and transport instructions.
Original shipping packaging can be useful if it remains serviceable. A carrying case may also be suitable, but it should not automatically be treated as sufficient for courier handling.
Packaging Checks
- The case or carton is in good condition.
• Internal supports fit the instrument.
• Equipment cannot strike other contents.
• Cushioning protects the instrument without stressing delicate parts.
• Heavy accessories are separated.
• Closures are secure.
• An outer carton is used where appropriate.
Follow equipment-specific guidance on packaging materials, particularly for sensitive electronic assemblies or exposed measurement surfaces.
A “fragile” label supplements suitable packaging; it does not replace it.
9. Protect Probes, Connectors and Displays
Delicate components need particular attention.
Position the instrument so that its main body is supported and its fragile parts do not carry pressure from the packaging.
Useful Precautions
- Place probes in protective channels or suitable sleeves.
• Prevent bending of slender sensors.
• Protect exposed connectors.
• Keep loose metal items away from displays.
• Coil cables without tight bends.
• Avoid pulling or twisting cable connections.
• Check that the lid closes without force.
Do not place several instruments loose inside one case simply because they fit.
Use separate supported compartments or individual packages where appropriate.
10. Plan the Full Transport Route Within Fiji
Confirm every stage between your premises and the receiving laboratory.
Where road, sea or air transport is involved, identify who arranges each transfer and where responsibility changes.
Transport Questions to Confirm
- Who collects the shipment?
• Which transport services will be used?
• Are there intermediate storage locations?
• What handling arrangements apply?
• Who receives the equipment at the laboratory?
• What happens if delivery is delayed?
• How are damage or missing packages reported?
• What return transport is included?
Consider the instrument’s specified storage conditions throughout the journey.
For batteries, liquids or other contents subject to carrier restrictions, confirm the carrier’s current requirements before booking. Do not assume that acceptance by one transport service establishes acceptance by another.
11. Include a Clear Packing List
The laboratory should be able to identify the sender and requested work when it opens the package.
Include:
- Organisation name.
• Main contact details.
• Booking reference.
• Purchase order reference, where applicable.
• Instrument identities.
• Accessory list.
• Requested calibration scope.
• Reported faults.
• Agreed adjustment or repair instructions.
• Return address.
Keep a digital copy with the equipment register.
Remove outdated delivery labels and place the current destination details securely on the outer package.
12. Track Dispatch and Confirm Laboratory Receipt
Record when the equipment leaves your premises.
Useful tracking information includes:
- Dispatch date.
• Courier or transport provider.
• Consignment reference.
• Number of packages.
• Instruments in each package.
• Expected delivery date.
• Person responsible for follow-up.
A delivery notification confirms a transport milestone. Ask the laboratory to separately acknowledge the instruments and accessories received.
Resolve any discrepancy between the packing list and received contents promptly.
A Practical Instrument Transport Checklist
| Preparation item | What to confirm |
| Booking | Laboratory has accepted the service request |
| Calibration scope | Functions, ranges and relevant requirements are documented |
| Equipment identity | Model, serial number and asset number are recorded |
| Condition | Existing damage and reported faults are documented |
| Preparation | Manufacturer and laboratory instructions are followed |
| Contamination | Relevant exposure has been declared and addressed |
| Accessories | Required items are identified and listed |
| Packaging | Equipment is supported and protected |
| Delicate parts | Probes, displays and connectors are protected |
| Paperwork | Booking, scope and return details are included |
| Transport | Route, responsibilities and carrier conditions are confirmed |
| Tracking | Dispatch and delivery information are retained |
| Receipt | Laboratory confirms the contents received |
| Return | Packaging, inspection and release arrangements are planned |
13. Arrange Return Packaging Before Work Begins
Protection is needed on the return journey as well as the outward journey.
Ask whether the original packaging will be retained and reused, provided it remains suitable.
Clarify:
- Who books return transport.
• Whether return freight is included.
• Which address will be used.
• Whether additional packaging may be charged.
• How completed documents will be supplied.
• Who receives dispatch updates.
Confirm the return contact details if the instrument belongs to a different department or site.
Inspect Equipment Before Returning It to Use
When the shipment returns, inspect the package and compare its contents with the dispatch record.
Recommended Actions
- Check the Package: Record visible damage before discarding packaging.
- Confirm Identity: Match the equipment to the original booking.
- Check Accessories: Compare returned items with the packing list.
- Inspect Condition: Look for damage to displays, probes, controls and connectors.
- Review Documents: Assess the certificate and any repair or adjustment notes.
- Follow Operating Instructions: Allow stabilisation and complete appropriate checks where required.
- Authorise Release: Record the decision before equipment returns to service.
- Update Records: Save documents and update the equipment location and calibration programme.
If transport damage or unacceptable results are identified, keep the instrument withdrawn from use while the issue is assessed.
Common Preparation Mistakes to Avoid
Common mistakes include:
- Sending equipment without a confirmed booking.
• Recording only the model rather than its unique identity.
• Omitting required probes or power supplies.
• Packing accessories loosely against the instrument.
• Using worn or unsuitable packaging.
• Adjusting equipment without documenting the change.
• Failing to declare contamination.
• Assuming all transport stages have identical conditions.
• Leaving return freight unconfirmed.
• Treating a returned calibration label as sufficient review.
• Returning damaged equipment to service.
A consistent dispatch process helps staff avoid repeating these problems.
Preparing a Calibration Enquiry for More Grow Group
When discussing equipment calibration services in Fiji with More Grow Group, provide:
- Organisation and site location.
• Equipment description, manufacturer and model.
• Serial number and asset number.
• Measurement functions and ranges used.
• Required calibration scope.
• Relevant accessories.
• Reported faults or damage.
• Previous service information where useful.
• Preferred timing.
• Collection and return requirements.
Ask More Grow Group to confirm service availability, receiving arrangements, preparation instructions and the documentation supplied for the specific request.
Request clear inclusions, exclusions and approval arrangements for additional work.
Preparing Instruments for a Well-Organised Calibration Visit
Preparing instruments for laboratory transport starts with clear identification and an agreed service scope.
Document equipment condition, include the required accessories and use packaging suited to the instrument. Confirm the full transport route, track the shipment and plan the return journey before dispatch.
For organisations arranging equipment calibration services in Fiji, these steps help protect instruments and provide the laboratory with the information needed to assess the requested work.







Leave A Comment